

Infinite Marquees without Code in Webflow - Advanced Animations
Building Infinite Sliders (or Marquees as they are called) is not as difficult as it looks at first glance. All we have to do is set up some styled Div Blocks, our Marquee Content, as well as a very simple Interaction that Loops infinitely. Now let’s get started building this amazing infinite Marquee in just a few simple Steps!
Step 1: Setting up our Basic Structure
Just so we are all on the same starting Point, I have simply created a new Webflow Project. It’s completely empty and has no Styles in its current state.
If you already have a Project with Basic Section & Container Classes set up, feel free to skip Step 1 and jump straight to Step 2
Before we start building our Marquee let’s take a look at how it’s constructed.
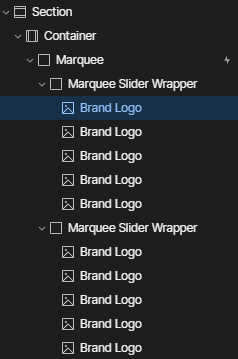
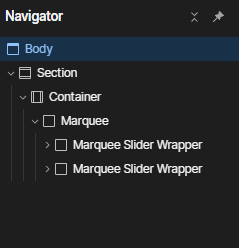
In the Image above we see that the Marquee itself consists of a Div Block called Marquee with 2 additional Divs called Marquee Slider Wrapper that hold our Content, in this case some Brand Logos.
Let’s start by building the Basic Section & Container Structure first:
- Go to the Add Menu and add a new Section Element to your Page
- Give it a Class called Section
- Add Top and Bottom Padding of 96px
Now let’s add the Container:
- Add the Container Element from the Add Menu and place it inside your Section
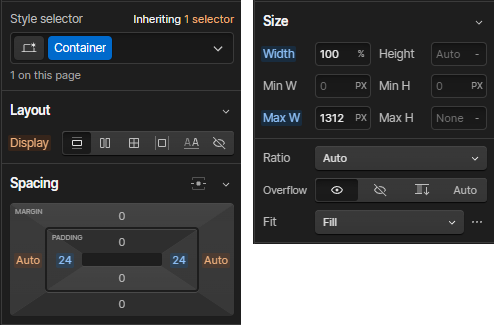
- Give it a Class called Container
- Add Left and Right Padding of 24px
- Set the Width to 100% and the Max-Width to 1312px
Step 2: Building the Marquee
Next up, let’s build the actual Marquee:
- Add a new Div Block inside your Container and give it a Class called Marquee
- Set the Display to Flex
- Align it to the Center and justify it to the Left
- Set the Overflow to Hidden (this prevents Overflow Issues once we duplicate the Wrapper Class later on)

Now that we have Marquee Class setup, we need to add another Div Block inside the Marquee that we’ve just created:
- Add a Div Block inside the Marquee Element
- Give it a Class, in my case it will be called Marquee Slider Wrapper (this Div Block will hold the Content of our Infinite Marquee)
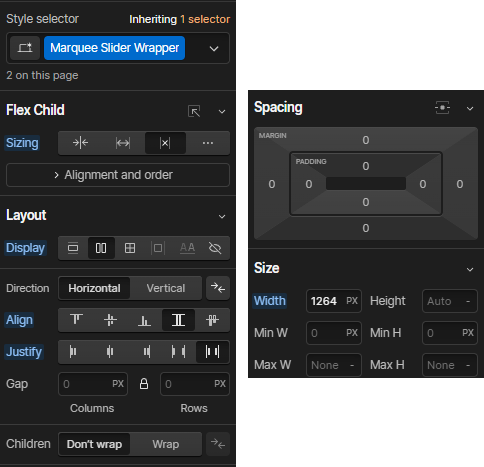
- Set the Flex Child Sizing to “Don’t shrink and grow”
- Set the Display to Flex
- Align it to Stretch and Justify it to Space Between
We also need to set the Width of the Marquee. In order to make it responsive for all Screen Sizes we will give it a set width. In my case I will set the Width to 1264px. The Value comes from the Size of the Container minus the Padding of the Container, which in this case is 24px on both sides. So we take the Container Size of 1312px and remove 48px which results in a Size of 1264px. Feel free to adjust these Numbers to your specific use case.
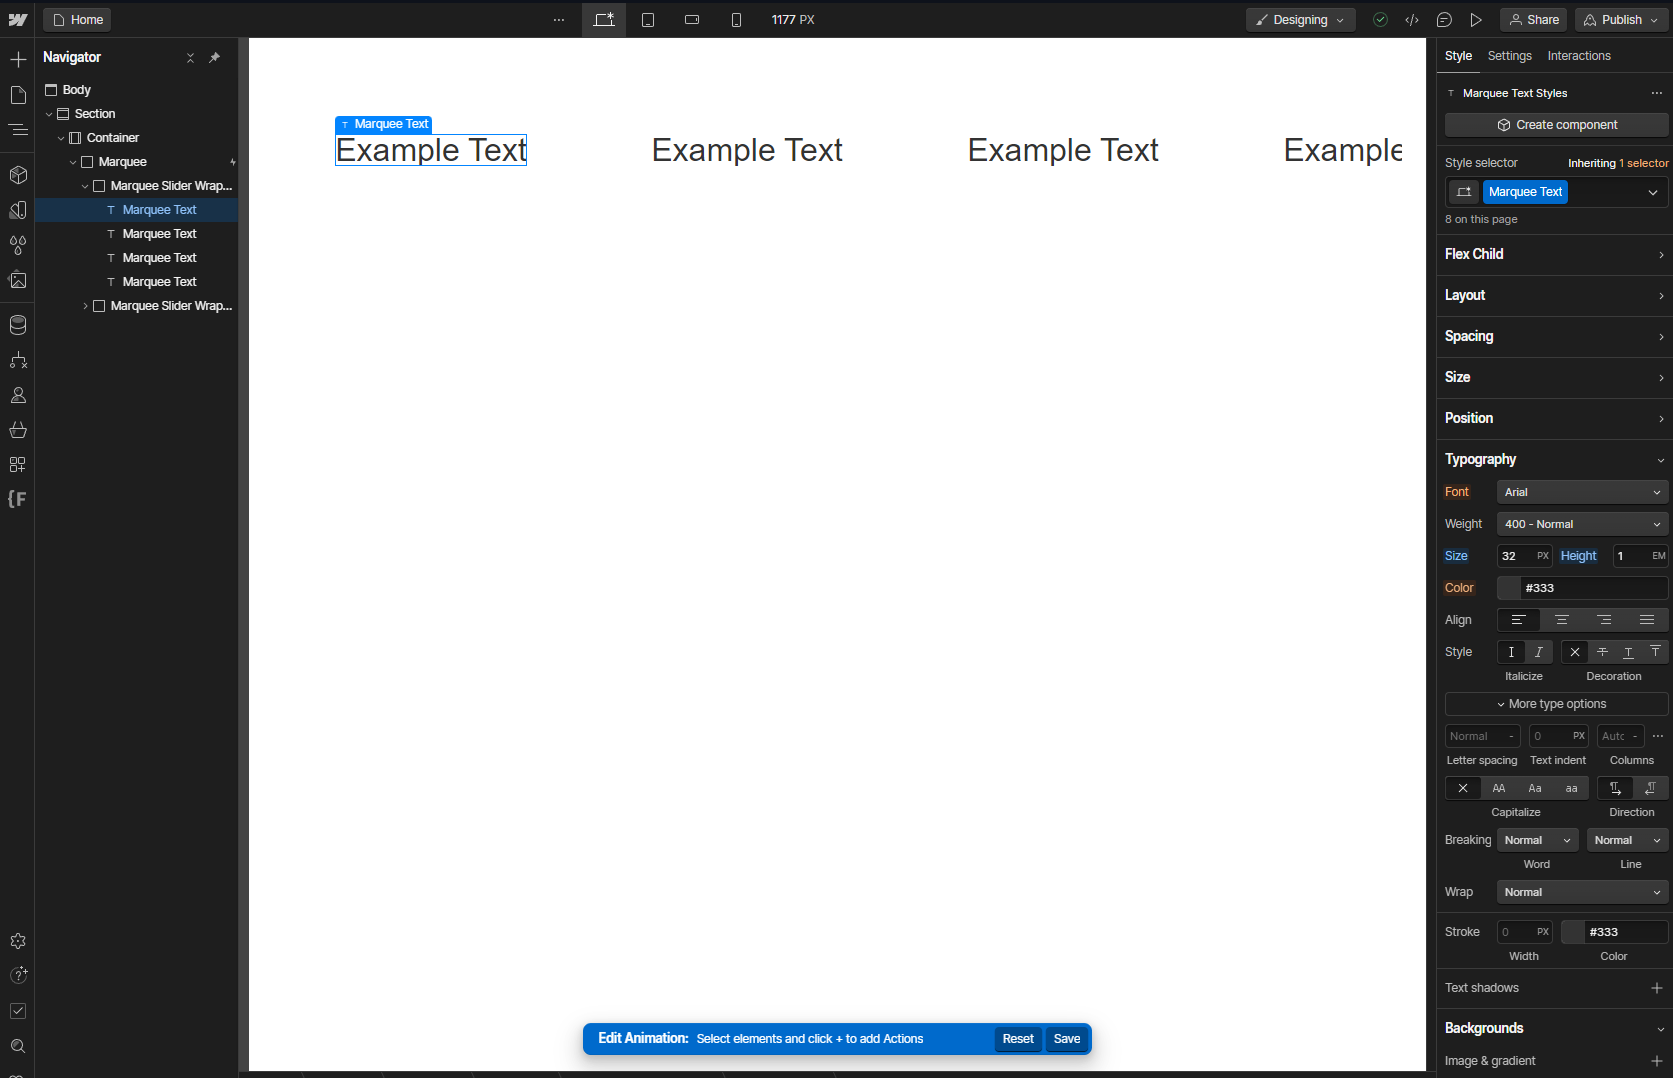
Alright, now that we have finished the Structure of our new Marquee, we need to add some Content. Now, this Content can be essentially anything we want it to be. For the sake of this Tutorial we will go with some simple Text.
- Add a simple Text Block inside the Marquee Slider Wrapper
- Give it a Class, I will go with Marquee Text
- In the Typography Tab, increase the Site to 32px and the Height to 1EM
- Duplicate the Text Element 3 times so we have 4 in total
Now that we finished creating the Content of our Marquee, all that’s left is to duplicate the Marquee Slider Wrapper.
Step 3: Creating the Loop Interaction
Next we have to create a simple Loop Interaction so the Slider moves from right to left (or alternatively from left to right).
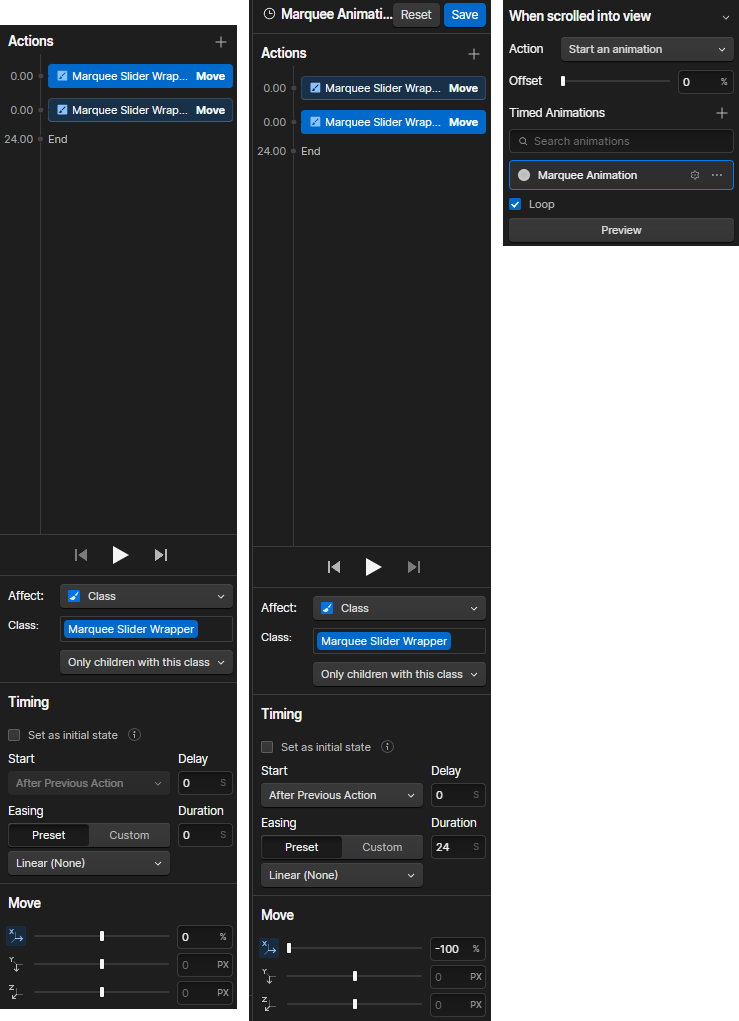
- Select the Marquee and go to the Interactions Tab
- Click on the + Icon and select Scroll into View as the Element Trigger
- Set the Action to “Start an Animation”
- Create a new Animation by clicking on the + Icon
- Give the Animation a Name, I went ahead and called it “Marquee Animation”
- Select the Marquee Slider Wrapper in your Navigator
- Click on the + Icon and select Move
- Set the Duration to 0s and the X-Axis to 0%
- Click on the End Point and add another Move Action
- Set the Duration to 24s (or however long or short you want it to be)
- Set the X-Axis to -100%
- Click on Done to save the Animation
- Very Important! Make sure to enable Loop below the Animation List
Now to test the Animation. Click on Preview and watch the Magic happen. As you can see the Marquee is working perfectly even across the different Breakpoints.
But what if we want to reverse the direction of the Infinite Marquee? To achieve that we simply have to tweak some numbers in the Interaction.
Go back to the Interactions Panel and select your Marquee Animation. To switch the sides select the first Move Action and change the X-Axis from 0% to -100%. Then select the second Move Action and set it to 0% instead of -100%.
And that’s it! You’ve successfully built an Infinite Marquee without Code directly in Webflow.

